


Materials
Foam/Plastic Pumpkin
3-4 sheets Scrapbook Paper
Modpodge
Wide Paint Brush
Bowl
Water
Scissors/Exacto Knife
Paper Slicer (optional)
The main idea is that you’ll put one piece of paper over
each rib (the vertical stripes) of the pumpkin. If your pumpkin is very symmetrical
and even, you can cut all the strips of paper the same size. If the width of
the ribs in the pumpkin vary, you should measure each one before you cut it.
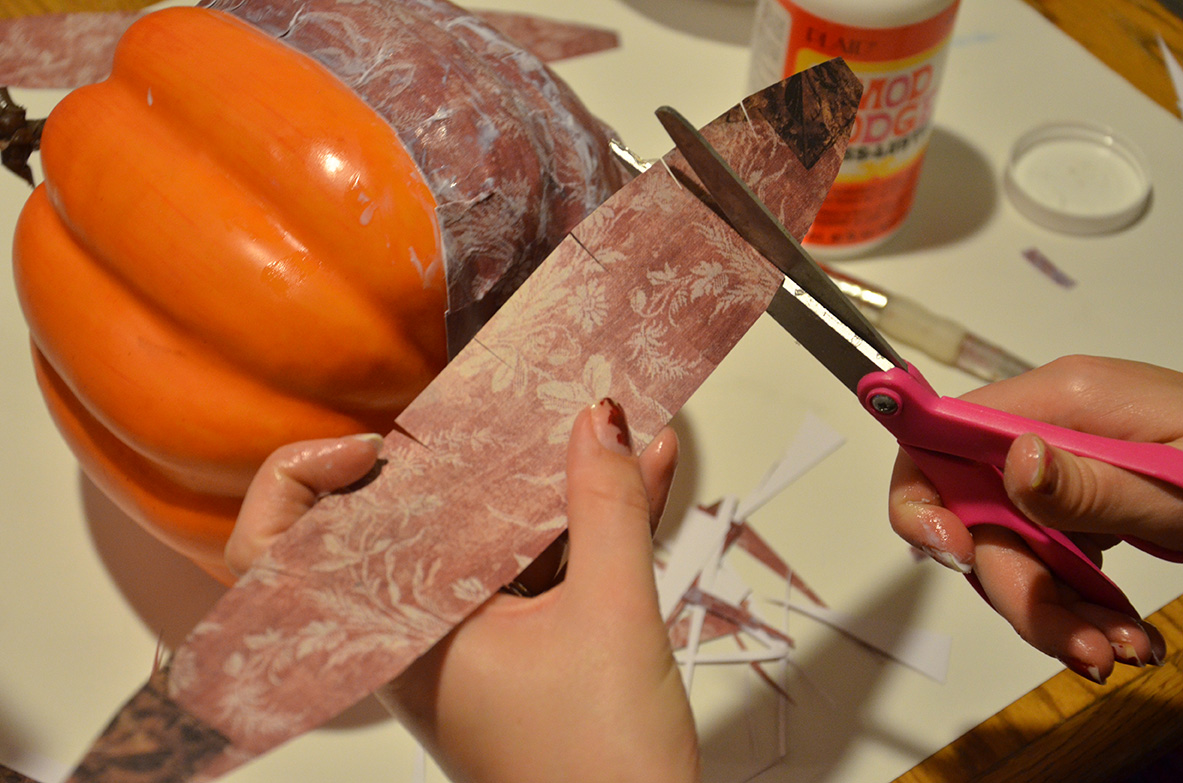
This pumpkin was very even, so each strip of paper was just over 2”.

Then cut one strip of paper at that width.

Round off the top and bottom of the strip to match the curve of the pumpkin.


If your pumpkin’s ribs are very deep, you should cut slits
in the sides of the paper to allow it to fold over itself and fit to the
pumpkin.

The scrapbook paper I used for the red pumpkin was more of a
cardstock weight, so I needed it to get extra soggy to be able to mold it
around the pumpkin. To do this, I mixed the mod podge with 3 parts water and 1
part mod podge. If your scrapbook paper is thin, you can mix it about 1 part
water and two parts mod podge.
Dip the paper in the Mod Podge from top to bottom. Let it soak for about 30 seconds.

Lift the paper out of the Mod Podge and slide your fingers
down it to wipe off the excess glue. Yes, this did ruin my manicure :-/

Lay the strip of paper over the rib that you cut it for.
Line it up on the top first, then center over the rib. Start smoothing it down,
starting in the center

and then working your way to the bottom and then the
top.

You can use your brush to smooth it over and even out the Mod Podge. If
any areas aren’t sticking, brush more Mod Podge under and on top of it and try
smoothing it down again.


Once the first strip is in place. Do the same for the next
strip, but be sure to measure from the edge of the last strip to the other side
of the rib so there’s no gap. Add a little extra, about ¼”, so that the strips
overlap just a little bit.


Repeat this all the way around the pumpkin. Each strip should
dry before you make it to the opposite side of the pumpkin, but in case it
doesn’t, allow time for it to dry, so you don’t set a wet side down on any
surface. This will make a mess on you work surface and probably ruin your
pumpkin.

When you get to the last strip, try to get the measurement
pretty accurate so that it doesn't overlap the other pieces too much. Center it over the last rib and smooth it down. You can add a thin layer of Mod Podge over the pumpkin to cover any mistakes and give it a little glossy shine.

The just let it dry and you're done!

No comments:
Post a Comment