


It was pretty easy to refinish it, but my main issue was that the tray was missing. I considered forgoing the tray and just making it table height so I could pull it up to the kitchen table, but then I thought I might regret that decision in the future. Not liking to take shortcuts, I made a new tray. In retrospect, it probably would have been much easier to buy the tray from the internet (yes, people sell them! Check it out here or here), but I saved about $30 by buying a piece of solid oak at Home Depot instead. Cutting it to the right shape was super easy using a jigsaw, but making the indentation so food doesn't spill straight on the floor was so much harder than I thought it would be. I borrowed my dad's electric planer and carved out the center, but this left it very uneven and rough. I used a belt sander, palm sander, and Dremel with a sanding bit to try to fix it. Eventually, I primed it, used wood filler to fix big gaps and painted it and sanded it again to get it to where it is now. And I'm still not happy with it! Oh well, it'll do for now.

I also had to buy the hardware for the tray. The half that was attached to the chair was still there, but I needed the part that went on the tray. I opted for this version: High Chair Tray Hardware, which is exactly the same as what was on there! I even used the same holes for the screws. So, I attached the all new hardware to the chair and tray. This was a little tricky because I had to line up the tray with the chair and mark the edges of the hardware so I could drill the screw holes. After one mishap with them being to close together, I fixed it, and now it works perfectly!


Here's how the refinishing goes if you have your complete high chair
Materials:
- High Chair (including tray)
- Sand paper
- Spray Paint
- Food Safe top coat (this is the one I used)
- Hardware (old or new)
- Safety Strap (Make your own, buy new, or use the old one if it's in good condition)

- Remove all hardware and safety strap
- Clean all surfaces
- Lightly sand all surfaces
- Clean again to remove dust
- Spray paint 1 coat while the chair is upright
- Spray paint 1 or 2 coats while the chair is upside down
- Spray paint 1or 2 coats while the chair is upright again until all surfaces are evenly covered
- Spray clear food safe top coat
- Attach old or new hardware and safety strap
- Enjoy your awesome high chair!
If you're also missing the tray, buy the tray and hardware in advance. If you don't want the tray to have the indentation to catch food and liquids, then you can save some money by buying a solid board and cutting it to the proper shape. Sand the edges and surfaces to smooth them out before priming and painting.
I also made a new safety strap because the old one was worn, dirty and brown. I bought black strap material at Joann that was the same size as the old one. I used the same clip because I couldn't find a new 3-point clip, so I just washed it really well. I used the old strap as a pattern, sewed the new one and stapled it in place with a staple gun to the bottom of the chair.
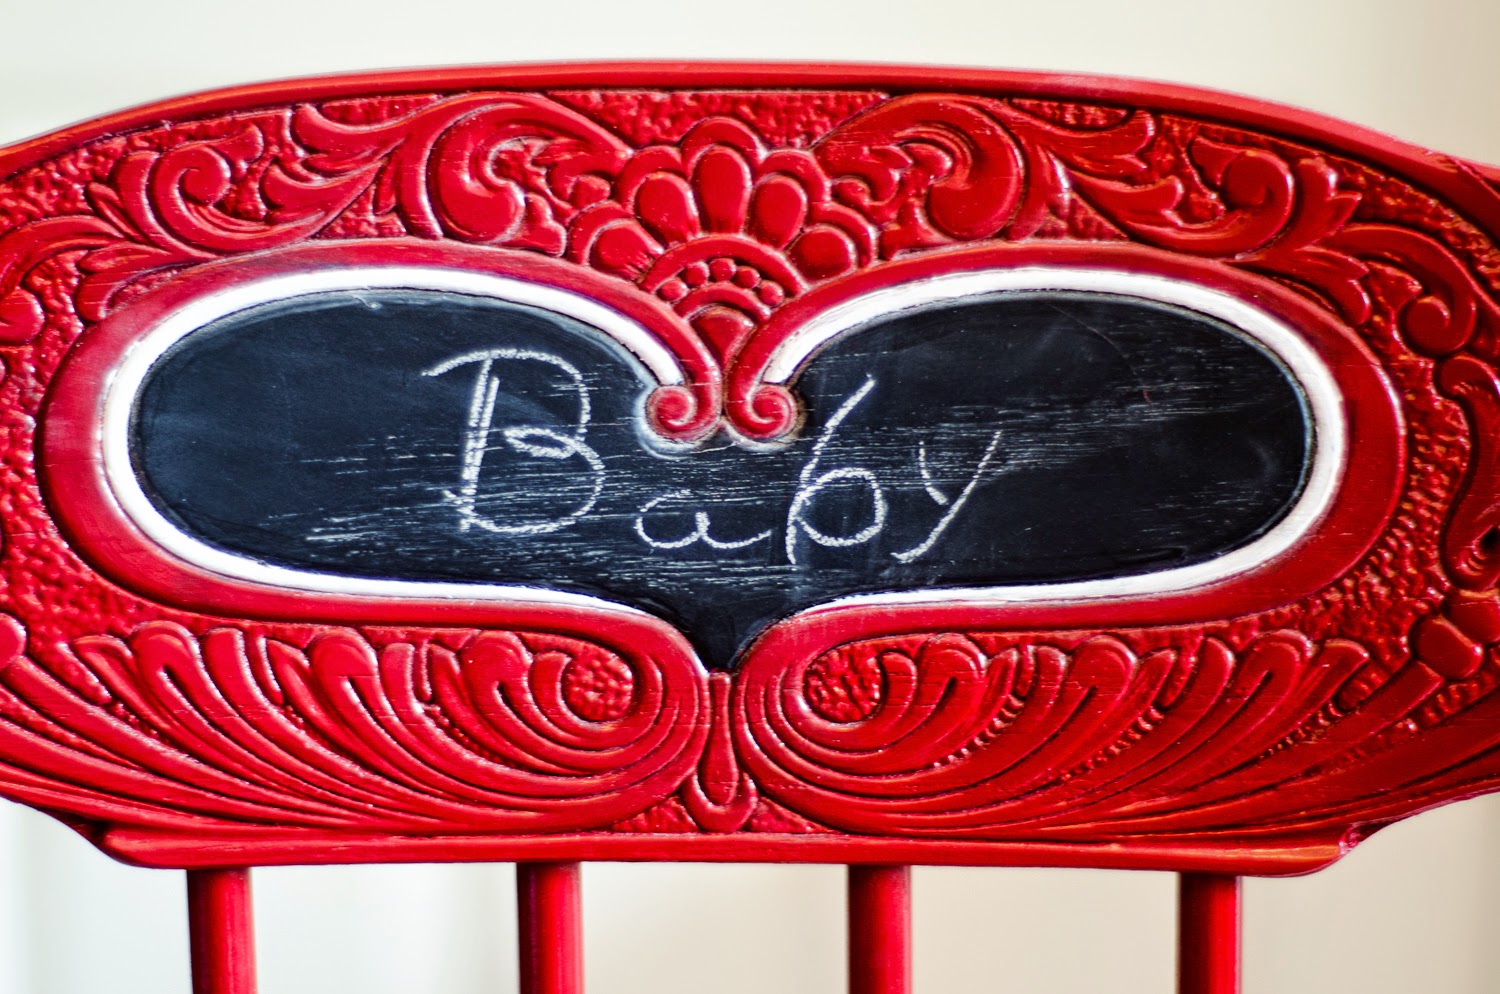
Because my high chair had this adorable carving on the back of the seat, I painted the heart in with chalkboard paint and outlined it with white paint.


