This past week, I made a embroidered felt throw pillow to match my bed set. I was lucky enough to get a Lenox Chirp bedding set from my mother in law for my bridal shower, but I didn't want to spend $60 on little throw pillow to match. I did however, want a pillow with a bird on it that matches at least a little bit. So I set out to create my own. I'm not going to lie, sewing is definitely one of the most time consuming projects, but this one wasn't particularly difficult.
Materials:
1/2 yard of the main fabric
Several sheets of felt in the colors you want to use
(light blue, dark brown, olive green and yellow in my case)
Thread or Embroidery Floss (Embroidery Floss will make the stitches more noticeable if you want that look)
Stuffing - enough to fill the size pillow you want to make.
Also Needed:
Scissors
Needles
Pins
Iron and Ironing Board
I started a little backwards because I wasn't sure what I wanted at first. But this is how should start.
Iron down the fabric.
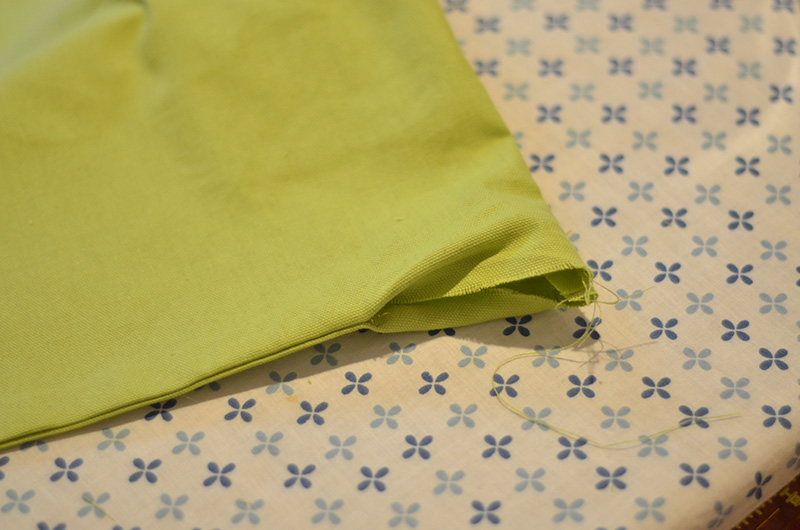
Fold your fabric in half so you cut two pieces at once. Cut your pillow out at the size you want. Mine was about 14"x14"
After cutting the piece of the pillow, this is what you should do next.
I started by drawing my
pattern and then cutting out the pieces of paper into separate pieces.
I then took each of the piece of paper and held it on the felt and cut out each piece of felt. Then I laid it all out to see where each piece should go and pinned it down. I made some creative changes along the way and decided not to use the wing, eye and beak made of felt.
Once each piece was pinned in place, I started sewing them down. I used large stitches that went around the edges of each piece of felt. The stitch should be perpendicular to the edge. Start you stitch by coming up 1/4" from the edge and then go down just past the edge, angling so that you come back up about 1/"4 from the start of your previous stitch.
This took a while.
Once all the felt was sewn down, I used a
backstitch to add details. I added the wing, lines in the tail and leaves, an eye and a beak.
This is how I backstitch.
Next, I made the flowers. Start with a square or rectangle about 4"x4" or 4"x3" in size. Start cutting on the middle of one side in a spiral. If you can cut in an up and down motion, you can make it look more like petals.
This is how it should end up looking
Start by pinching the center of the circle and twirling the felt around at a slight angle. Turn it so that the back of the flower stays relatively flat. If this it too difficult, start by using a spiral of felt without the petal pattern.
This is the back of the flower. Put pins through the edges to the other side to hold in in place.
Then stitch through the side to hold it together permanently.
It might not look pretty, but no one is going to see it...
Next, stitch the flower to the pillow. I stitched through the center a couple times and then through the bottom edges of the flower to the pillow.
Pin the right (front/outward facing) sides of both sides of the pillow together on all four sides. Sew the edges together about 1/2" from the edge. Leave the last 2"-3" open so you can turn the pillow, right side out. It's helpful to leave the last pin sideways to remind you to stop before sewing the whole thing closed. I can't even remember how many times I've had to rip out seams because I sewed too far.
Turn the pillow right side out, flowers first.
You should end up with a hole that looks like this.
Fold the edges under and iron it flat. This will make it easier to sew closed.
Stuff the pillow full with stuffing. Fluff up the stuffing before you put it in the pillow. Use your fingers to push it through a little at a time
Push the stuffing into all the corners and fill it until it feels like a good throw pillow. Used a chopstick like thing that came with my bag of stuffing to push it into the corners. You'll probably need to fill it a little more than you think you should so it doesn't sag in the last corner that you're about to sew up.

Next, stitch up the hole. This is a little tricky, because you'll need to make the stitches invisible. For this, you'll need to use a
ladder stitch.
It should look something like this. Sew up the hole and tie it off.
The finished product!