I can't lie, this is one of the hardest projects I'd ever done. It took a weekend just to strip all the fabric off and couple days to put the fabric on again. My hands were so sore from ripping out staples, I had a blister on every finger of my right hand. Using the hand stapler was no picnic either. But I'm very happy with the results. I've resolved to wait until we have a house with a yard before I try to reupholster the sofa.
If the fabric on the chair you're reupholstering isn't dirty, you could probably just put the new fabric over it. This tutorial assumes that your chair's fabric is beyond repair, but that the foam underneath can be salvaged.
Materials
The Chair
New Fabric - yardage is determined below
Fabric for underside of chair - about 1 1/2 yards square
Muslin or Canvas for the seat of the chair - about 2 yards square
Pliers
Heavy Duty Staple Gun - An electric or air powered one would be easier, but not always an option.
Staples - I think I went through a little over one 1000 staple package.
Hammer
Fabric Scissors
Two Strips of Cardboard or Upholstery Tack Strip- the length of the arms x 3/4".
Fabric Glue
Trim - about 4-5 yards
Upholstery Tacks (optional)
Started by measuring each piece of fabric on the chair before taking anything off, adding about 2"-3" on each side to be safe. I wrote each measurement down and then used excel to make a graph of all the pieces to figure out how much fabric I would need and how best to cut it.

I knew the fabric I wanted was 54" wide so I made the pattern stay within 51" to be safe. I could have used graph paper, but it would have required a lot of sheets and it would have been a lot harder to manipulate. In excel, I selected one cell for each inch in each piece and colored the background to block it out. After I had them all in there, I could move them around until they fit best without wasting too much fabric. From this I figured out that I needed 4 yards so to be safe, I bought 5 yards.
Be sure to get upholstery fabric. The thicker, the better.
If you have the money, you can buy an approximate amount of fabric using this guide and then layout the fabric you strip off the old chair to figure out where to cut it out.

The next step is the strip off the old fabric.
The most helpful part is to take pictures before and as you take off each piece fabric so you remember how to put it back on. Take close up and detail shots where things look a little tricky.

First take a sharpie and write the names of each piece of the fabric before you remove it. Be specific enough so you don't get them mixed up. You should also mark which direction is up on the fabric with an arrow. There's no going back after this.


Be sure to save the stuffing and try to keep it in one piece so it's easy to put back.
Next, remove the bottom.

From here you can see which pieces are on top of the others and take off those next. For me it was the outer side pieces.

Remove any trim first.


Note the cardboard strips here that keep the fabric straight once stapled down.

Next was the outer wing pieces. Save the metal strips here too.

Then the inner wings.

And the arms.


And the seat last. It's stapled on the front back and side of the frame.

Clean out the frame or any dirt that may be left it there. Mine was so dirty, I took the vacuum hose to it.
I got a little to preoccupied to remember to take pictures here, but hopefully I can explain it well enough.
After everything has been removed, layout the old fabric on the new fabric and make sure you configure it so that you have enough fabric for all the pieces. Once it's all laid out, start cutting the new pieces leaving an extra inch or 2 on each edge. This will make it easier to hold as you staple. You can start with the pieces on the front of the chair because that will be what you put back on first.
You'll also need to cut you muslin or canvas for the seat and sew it to the bottom front of the seat.
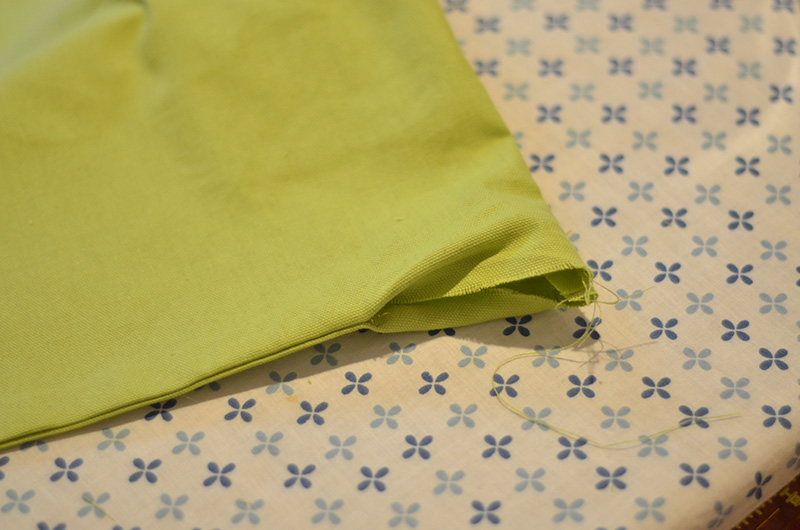
Start with the front of seat of the chair. Line it up evenly and then staple along the edge about 1 staple every inch. If your fabric isn't really thick, you may want to fold it under about 1/2" so it doesn't rip when you're stretching it. The picture below shows the area I'm talking about, but you should be stapling it one, not taking it off. Try to keep the staples 1/4" away from the edge of the fabric. You're staples will be showing for now, but you'll cover them with the trim.

After you've stapled it in the front, pull it through to the back and staple it to while pulling it tight. Then staple it to one side of the chair while holding it semi tight. Then staple it to the other side while pulling it tight.

Staple it to the top of the wood so your staples wont show under the fabric when it's done.

Next, attach the front of the back of the chair. To attach the front of the back, line it up, staple it along the to, just below the line where it goes from carved, finished wood to raw wood. Then push it through to the back on the sides and bottom. Staple it to the sides and bottom in the same areas you pulled it off. (See the pictures above if you can remember where it came off from.
Here's my chair with the seat, front, and one arm on.

To staple the arm on, line it up and first staple the fabric to the underside of the arm. Then, staple it to the front of the arm. I chose to leave off the piping here, but you could add that it you like it. When you come to the roll of the arm, as you staple, gather it, putting in a staple with each pleat.


After you finish the front of the arm, stretch it and staple it to the bottom and them back of the frame.


After this point, you should trim off any excess fabric that might be hanging off.

Next is the inside of the wing.

Lay it out and staple it to the outside of the wing first. Use the same technique of gathering and stapling as you did with the arm.


Fold the fabric under itself so no raw edges are exposed.

Next you'll need to put on the outside of the wing. This is a little tricky. Make sure the metal strip of sharp toothy stuff (sorry, I don't know the real name) is in good shape. The teeth need to face in toward the fabric. I used a flat head screwdriver to push the teeth into place. Once the metal strip is back in place, staple the metal strips along the outer edge of the wing as show in the pictures below. Then line the up the fabric in the the teeth and push them closed. Once it's all lined up and pushed closed, lightly hammer it closed.


As before, at this point you should staple the fabric on rather than pulling it off. It was a little tricky to staple it right in the holes, but after some practice it got easier.

The next step is to put on the outside of the arms. This is where you use the cardboard. It's best to do this with the chair on it's side. You'll need to cut two strips of cardboard the length of the bottom of the arm. Line the fabric up on the underside of the arm and staple the fabric with the cardboard to the frame. Then staple it along the front side and along the bottom of the chair. Lastly, onto the back of the frame.

All the other pieces except the bottom of the chair should be on by now. The last step is the put the back on. To accomplish this, layout the back piece of fabric right side side down. Measure the width of your chair on the top and bottom. Lay the really sharp metal strips on top of the fabric so that they are the width of the chair apart from each other. For example, if your chair is 30" at the bottom and 32" at the top, lay the metal strips 32" apart at the top and 30" apart at the bottom. Try to angle them evenly so they look straight once on the chair. Then punch the teeth through the fabric. This works well on carpet that you don't love.

Once you have the two pieces pushed through, have someone help you hold it up to the back of the chair. Even it out and then hammer it into the frame. If there's still metal showing like this, hammer it more.

Next, staple along the top of the back. Then fold it under and staple the bottom.


And very last, add the trim. You'll need to add trim anywhere you can see your staples.

When adding the trim, start at one side where it should start, on the back and bottom of the chair for instance. Add a little fabric glue and pin it down at the starting place. Slowly add glue to the trim and hold it in place for a few second and then pin it about every 5". The glue will take a while to dry, so the pins will hold it together until then.


After this, you should be all done! Congratulations :-)