Wednesday, July 29, 2015

How to Make Cupcake Toppers!

I've been selling cupcake toppers on Etsy for a while now. I sometimes wonder how the digital items people buy from me turn out in real life. I've made these cupcake topper a couple times now and they're definitely one of the least easy to create items I sell. So to help my customers and anyone who is having trouble creating cupcake toppers of any kind, I wanted to share my process and give some tips.


Materials
Printed Designs - You can find several here in my Etsy shop: https://www.etsy.com/shop/ShameronStudios?section_id=16700748
Backside Paper - contrasting colors work well
Scissors
Toothpicks or lollipop sticks
Hot Glue Gun
Fiskars Round 'n Round Squeeze Punch, Large - (optional, but soooo helpful. Available at craft stores or here: http://www.amazon.com/gp/product/B000OMZXGU )
Fiskars Seal of Approval Squeeze Punch, Extra Large (again optional, but very helpful if you want the scalloped piece. Available at craft stores or here: http://www.amazon.com/gp/product/B001GSEJRU )

NOTE: Rather than using the scalloped backside, you can simple make these double sided and use a design piece on the front and back. I like combining an image design and a text design on opposite sides.


After you print the designs, cut between the designs to create strips of paper that the punch can reach.


Line the design up inside the punch and squeeze! Alternately, you can use scissors to cut the circles, but that is really challenging for me.


Use the Seal of Approval Squeeze Punch to punch out the backside pieces.


Line up the backs, fronts, and toothpicks or lollipop sticks.


Apply a small line of glue on the back piece and press the toothpick/stick into the glue. Don't let your fingers touch the glue; it really, really burns.


When the glue attached to the back has dried, apply another line of glue on top of the toothpick/stick and attach the front design piece.


Hold it in place for a few seconds while it dries.


Let dry and you're done!


Tuesday, February 17, 2015

DIY String Art Heart Tutorial

This is a super easy project. My brother and I decided we would each make one of these. He wanted to give it to his girlfriend and I'm sharing mine with my husband, hence the M ;-)

Materials
Wood Board
Finishing nails (18 gauge, 1" long is what we used)
String
Hammer
Pencil

Pick your design and draw it lightly on your board. You can also print out a design and just nail through it.

String Art Heart Tutorial by Mrs. Mayfield

String Art Heart Tutorial by Mrs. Mayfield


Hammer in nails about 1/2" apart on the outline of your design. Only hammer them in about 1/4". Just enough to be secure, but not go through the board.

String Art Heart Tutorial by Mrs. Mayfield

String Art Heart Tutorial by Mrs. Mayfield

String Art Heart Tutorial by Mrs. Mayfield


After all the nails are in place, Tie the string on a central nail and trim off the excess tail. Remove the paper or erase any obvious lines at this point.

String Art Heart Tutorial by Mrs. Mayfield

String Art Heart Tutorial by Mrs. Mayfield

Start wrapping the string from nail to nail in any order. This adds to the randomness of it. Try to wrap it around each nail at least once. 2 or 3 time will make it look fuller. Keep the tension strong so the string doesn't slip off a nail. Every once in a while, tie a knot around a nail just in case it pops off at one point, it won't ruin the whole thing.


String Art Heart Tutorial by Mrs. Mayfield

Keep filling in the design evenly so you don't end up with bare spots.
If you're adding a design in the center of your heart, be sure that you don't cross that inner area at all! It will ruin the clean look of it. 

String Art Heart Tutorial by Mrs. Mayfield

String Art Heart Tutorial by Mrs. Mayfield

Done!

String Art Heart Tutorial by Mrs. Mayfield


String Art Heart Tutorial by Mrs. Mayfield

To hang this on a wall, use a picture frame or canvas wall hanging kit.


Tuesday, January 27, 2015

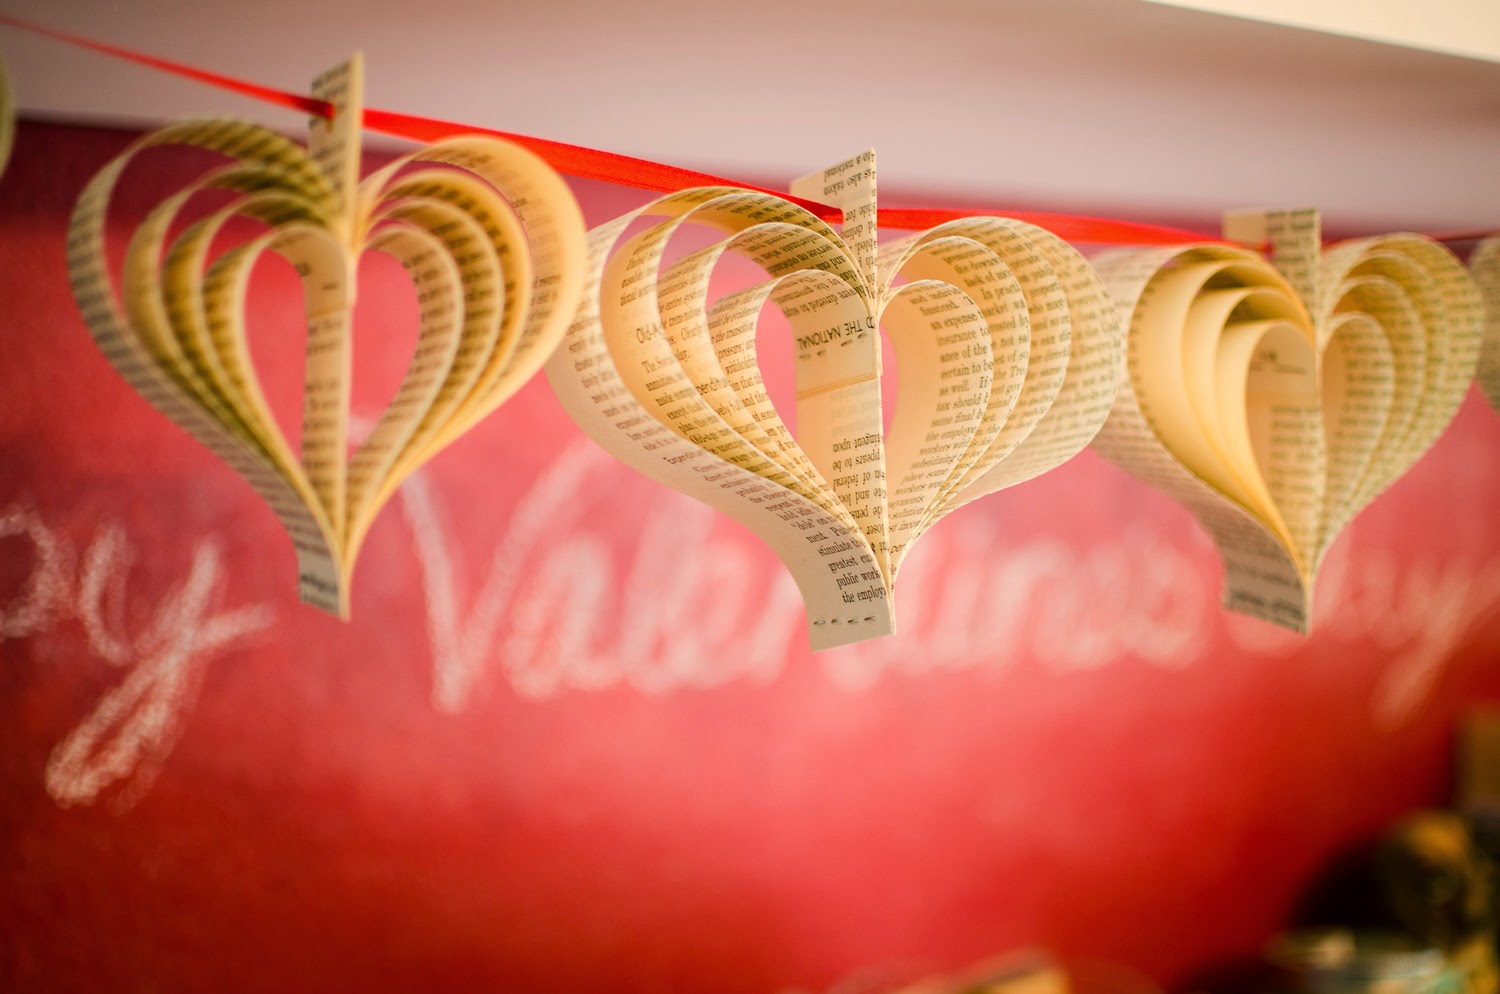
DIY Valentine's Day Paper Heart Garland


With Valentine's Day coming up, I wanted to decorate at least a little bit. Although I hate to see books destroyed, I really like this little banner and it was pretty easy to make! So, here are the instructions for how to make your our own paper book heart garland.

Materials
Book ( or any paper)
X-acto Knife (and a cutting surface)
Ruler
Stapler
Staples 
Scissors
Hole Punch
Ribbon or String

Again, I hate cutting up books, so I picked the one I would never read; Economic Analysis and Public Policy. I could have picked something more romantic, but it doesn't matter that much and I liked the look of these pages. 

Start by opening to the book to one of the first or last page and line up the ruler along the edge of the book.
Carefully, cut the pages out a couple at a time. 


Once you've cut out 5-10 pages, line them up on your cutting surface and cut them in half.


You might need to cut them toward you and then away from you to get them cut all the way across. just cut a couple at time and move them aside.


Then cut them in half again. If your book is a small/medium size, this should be good enough to make your hearts. If you're using a large book, you may need to adjust the width to get them the way you want.


Now you should have quite a few strips of paper.


To start the hearts, take 9 strips of paper.

Lay out 4 strips. Fold one in half and lay it on top of the 4 strips so that half of it over laps. 


Lay the other 4 strips on top of that. Line them up with the 4 on the bottom
NOTE: the strips that are touching and facing the folded strip are the ones that will be on the outside of the finished heart. If it matters to you, make sure those sides are the "pretty" ones. They should also be upside down compared to your folded paper to come out upright at the end.


Staple the strips together about 1/4" above the edge of the 8 strips. You can staple it twice to make sure it stays secure.


Start folding the strips down starting with the inner strips.


Pinch them together at the bottom of the folded center strip to keep them in place.


Keep folding them down working one side at a time and them the other.


To make sure your heart will be even, make sure each strip lines up at the bottom with the strip on the opposite side.


Once you've folded down all the strips and lined them up, staple it at the bottom. Make sure you staple through the folded center strip or your hear will be droopy.


Cut off the excess paper on the bottom below the staples.


Hole punch the center strip for the ribbon or string to go through.


 Now you can string them together for a cute banner!


Let me know what you think or if you have any questions!!!


Tuesday, October 7, 2014

Refinishing a Vintage High Chair


While I was refinishing my kitchen table, I decided to paint an old high chair I had found. It was a cute chair and I really like it. It reminded me of the one my grandma had and used with me and my siblings and cousins and probably my dad and aunt and uncles too. I was really well built, just a bit dirty and scratched.


It was pretty easy to refinish it, but my main issue was that the tray was missing. I considered forgoing the tray and just making it table height so I could pull it up to the kitchen table, but then I thought I might regret that decision in the future. Not liking to take shortcuts, I made a new tray. In retrospect, it probably would have been much easier to buy the tray from the internet (yes, people sell them! Check it out here or here), but I saved about $30 by buying a piece of solid oak at Home Depot instead. Cutting it to the right shape was super easy using a jigsaw, but making the indentation so food doesn't spill straight on the floor was so much harder than I thought it would be. I borrowed my dad's electric planer and carved out the center, but this left it very uneven and rough. I used a belt sander, palm sander, and Dremel with a sanding bit to try to fix it. Eventually, I primed it, used wood filler to fix big gaps and painted it and sanded it again to get it to where it is now. And I'm still not happy with it!  Oh well, it'll do for now.


I also had to buy the hardware for the tray. The half that was attached to the chair was still there, but I needed the part that went on the tray. I opted for this version: High Chair Tray Hardware, which is exactly the same as what was on there! I even used the same holes for the screws. So, I attached the all new hardware to the chair and tray. This was a little tricky because I had to line up the tray with the chair and mark the edges of the hardware so I could drill the screw holes. After one mishap with them being to close together, I fixed it, and now it works perfectly!


Here's how the refinishing goes if you have your complete high chair

Materials:
  1. High Chair (including tray)
  2. Sand paper
  3. Spray Paint
  4. Food Safe top coat (this is the one I used)
  5. Hardware (old or new)
  6. Safety Strap (Make your own, buy new, or use the old one if it's in good condition)

Instructions:
  1. Remove all hardware and safety strap
  2. Clean all surfaces
  3. Lightly sand all surfaces
  4. Clean again to remove dust
  5. Spray paint 1 coat while the chair is upright
  6. Spray paint 1 or 2 coats while the chair is upside down
  7. Spray paint 1or 2 coats while the chair is upright again until all surfaces are evenly covered
  8. Spray clear food safe top coat
  9. Attach old or new hardware and safety strap
  10. Enjoy your awesome high chair!
If you're also missing the tray, buy the tray and hardware in advance. If you don't want the tray to have the indentation to catch food and liquids, then you can save some money by buying a solid board and cutting it to the proper shape. Sand the edges and surfaces to smooth them out before priming and painting. 

I also made a new safety strap because the old one was worn, dirty and brown. I bought black strap material at Joann that was the same size as the old one. I used the same clip because I couldn't find a new 3-point clip, so I just washed it really well. I used the old strap as a pattern, sewed the new one and stapled it in place with a staple gun to the bottom of the chair.


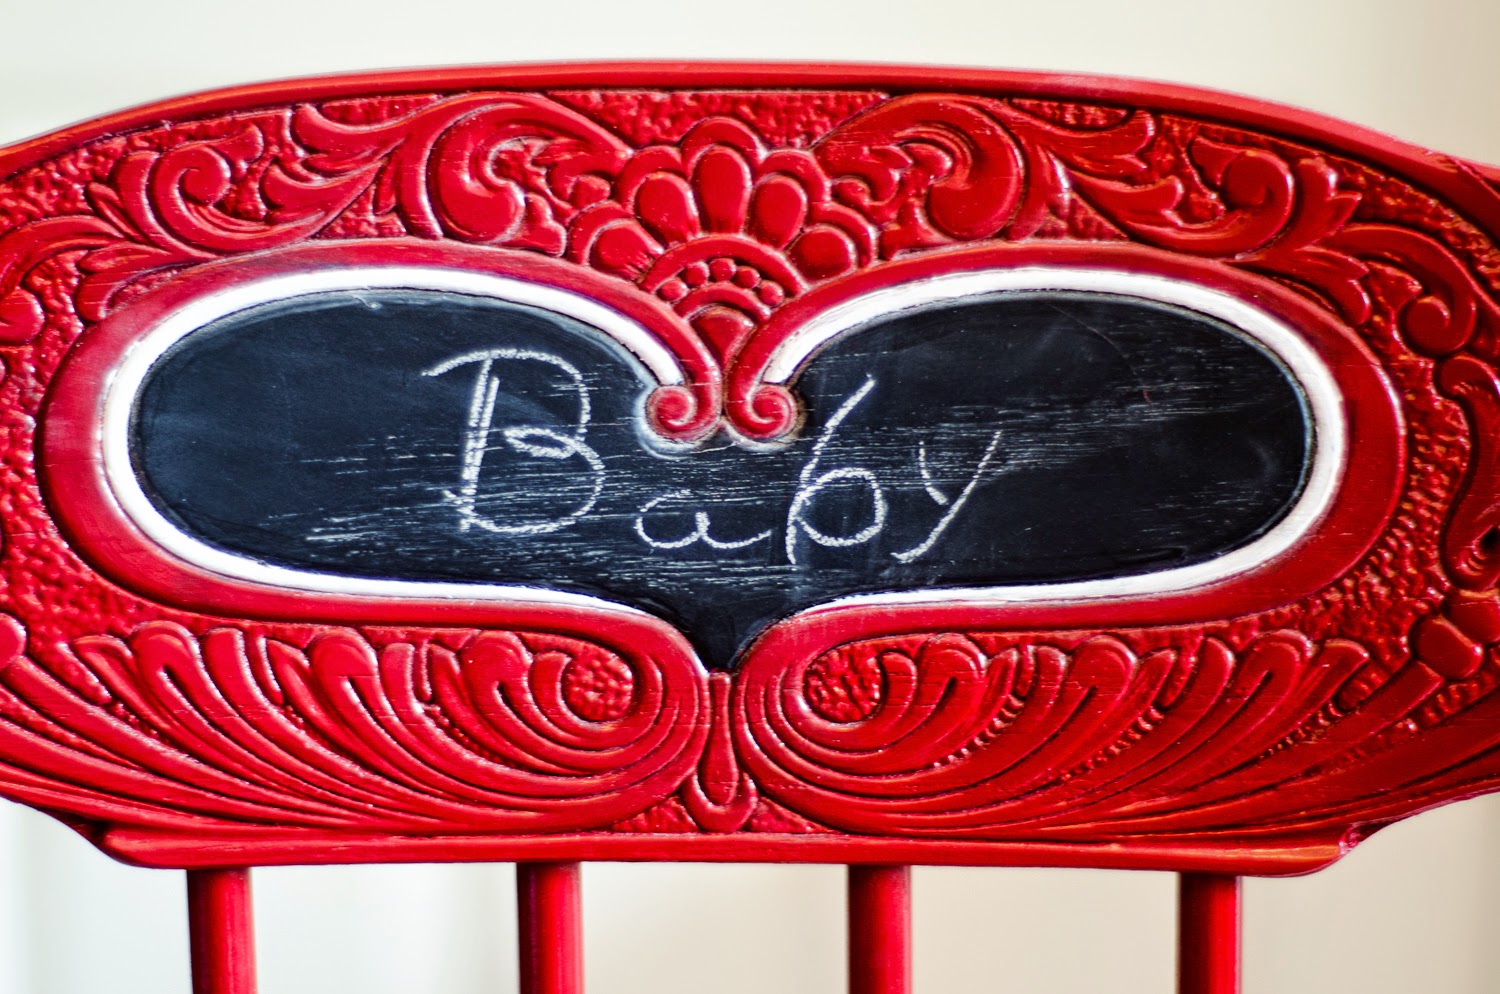
Because my high chair had this adorable carving on the back of the seat, I painted the heart in with chalkboard paint and outlined it with white paint.